To build this rig I'm trying to use up as much of my scrap wood as I can as part of a larger tidy up. The sides are 80*80 cm * 25mm thick veneer compact board from a furniture cabinet lol. The base is the same wood but 80 * 60 cm * 25mm with CLS 2*3 timber on its side for the chair to slot into.
The chair is my recently retired PC chair. Take the wheels off and I've got a reclining racing rig chair!
The cross bar in the middle is to support the racing wheel plate and its placement is based on what suited me. The front cross bar serves to stiffen the frame and also mount the foot pedal plate on.
The steering wheel plate is 3mm thick aluminium with a ton of holes and lots of screw bolts lol. Safe to say it isn't going anywhere.
A quick test putting the steering wheel in place and as it should fits perfectly.
So given its all scrap wood or if like upcycled.. I didn't want to leave the frame bare as it'd look pretty bad even if the practical use was excellent.
I've used actual car carpet with fabric glue spray, not had to do this kind of thing in years and its very thick to work with. I finally got the base covered and half way up the insides where my knees will rest.
Next I wanted the whole steering wheel cross bar and plate carpet covered to match and take some vibration transference out from the wheel.
Another key aspect of the rig design is to be comfy so not cramped but also compact when not in use!
The pedal mounting board is on very durable hinges so it can pivot from the resting cross bar.
Last testing phases to ensure everything is comfy for me to use before we really get into the rest of the build.
The rig so far is coming together but without a screen is fairly useless unless I really use my imagination..
To mount a VESA arm mount I'm using a 70mm squared fence post cut down bolted to a post support bracket and through the frame itself all with M8 bolts. It's not going to move..
Using the last pieces of carpet I had left I covered the fence post so it looks way better. Mounted the VESA arm and finally the 24" Dell Monitor.
You can also see how the pedal plate is up right in store mode although that Velcro strap was just temporary.
Next was the start of cable management. I didn't want wires hanging all over the place to get my feet tangled in lol. However you can see that the post screw bolts came out the other side by a good 15mm grrr
So I 3D designed and printed in TPU some dome caps which have a threaded M8 hole design. They screw onto the ends. Problem solved.
Now for the final stretch!
I didn't like the inside bare wood look. The side that faces the room being bare veneer looks tidy and suits the room but where I look at for me, not so much.
JDM Bomb sticker sheet to the rescue! I plastered that bad boy up on just the insides up to the carpet lines. Cable management is finished with mounted plugs off the floor, everything nice and tidy.
Just when you think you're done..
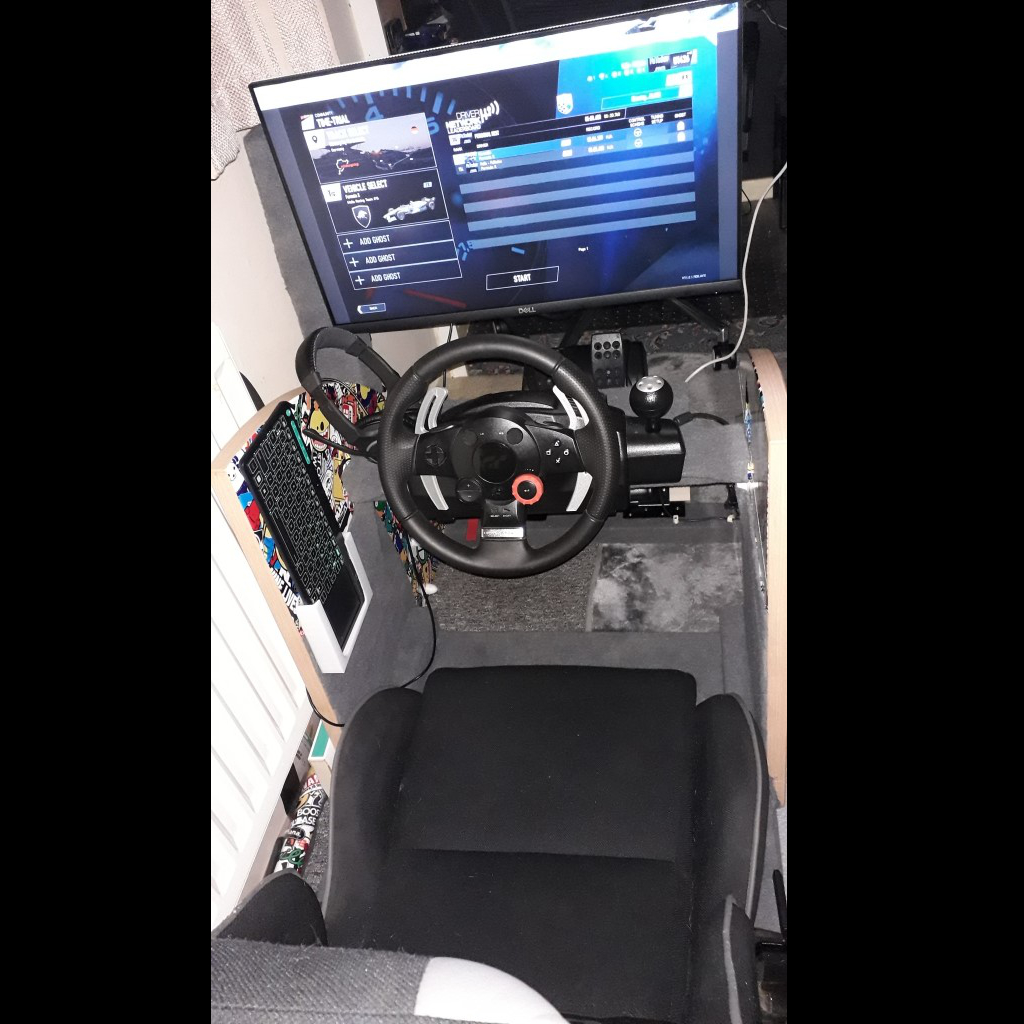
99% the way there view from the front. The rig is solid as .. it's easy to get in and out of by holding the sides. The inside has a clean jap-fest type feel to it.
Now.. we are done. The mini wireless keyboard had no home, TPU to the rescue again, bespoke keyboard bracket easy to put in / pull out but also can press every single key without taking it out.
So for in game pressing say Enter is all possible without shifting it. Bit of Project Cars 2... of course.
Over all the rig itself has cost me about £30 to build given all the wood was reclaimed and made space for me elsewhere, the seat I'd just retired anyway, the carpet I already had!
I only had to buy: JDM sticker bomb sheet, hinges, fence post, post bracket and M8 bolts :D
This is a total win and it's excellent to use. Just plug it in, press the HDMI monitor switch for primary and off I go!
 Custom racing simulator rig!
 Custom racing simulator rig!


